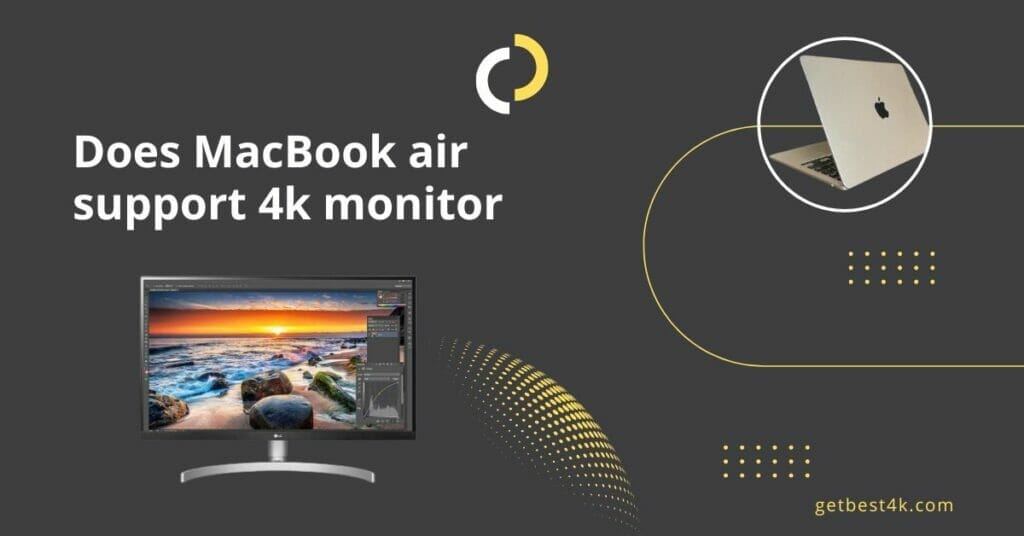
Step-by-Step Guide: How to Connect a 4k Monitor to Your MacBook Air
As technology evolves, so does the necessity for superior display quality. Whether you’re a graphic designer, video editor, or an avid movie lover, connecting a 4K monitor to your MacBook Air can drastically enhance your visual experience.
This guide will walk you through connecting your MacBook Air to a 4K monitor, ensuring you get the best out of your hardware.
Introduction
With its sleek design and powerful performance, the MacBook Air has always been popular among Apple users. However, when it comes to screen real estate, professionals and enthusiasts often need more. That’s where a 4K monitor comes into play.
With four times the resolution of a standard HD display, a 4K monitor offers sharper images and richer colours, making it a must-have for anyone seeking an immersive viewing experience.
Step 1: Gather the necessary cables and adapters
Before you start, make sure you have all the necessary cables and adapters at hand. The type of cable or adapter you need depends on the ports available on your MacBook Air and the 4K monitor.
HDMI Cable
An HDMI (High Definition Multimedia Interface) cable is a common choice for transmitting high-quality digital video and audio. This is the cable you’ll need if your 4K monitor has an HDMI port.
USB-C to HDMI Adapter
If your MacBook Air doesn’t have an HDMI port but has a USB-C port, you will need a USB-C to HDMI adapter. This adapter will allow you to connect the HDMI cable from your monitor to the USB-C port on your MacBook Air.
Thunderbolt 3 to HDMI Adapter
If your MacBook Air has a Thunderbolt 3 port, use a Thunderbolt 3 to HDMI adapter. Thunderbolt 3 ports are incredibly versatile and can support a variety of connections, including HDMI.
Step 2: Check the technical specifications of your MacBook Air
Before proceeding with the physical connection, it’s important to check the technical specifications of your MacBook Air. This includes confirming if your MacBook Air supports 4K resolution and identifying the available ports.
Determine if your MacBook Air supports 4K resolution
You can check the technical specifications under ‘System Preferences’ on your MacBook Air. If your MacBook Air model supports 4K resolution, you should be able to select 4K as an option in the display settings.
Verify the available ports on your MacBook Air
Identifying the available ports on your MacBook Air is crucial in determining which kind of adapter you need. Depending on the model, your MacBook Air may have different combinations of Thunderbolt, USB-C, and HDMI ports.
Step 3: Connect the monitor to your MacBook Air
Once you’ve gathered the necessary equipment and checked your MacBook Air’s specifications, it’s time to connect your monitor to your MacBook Air.
Identify the correct port on the monitor
Firstly, identify the correct port on your monitor for connection. Most 4K monitors come equipped with several HDMI ports. Some may also have DisplayPort or USB-C ports.
Plug in the HDMI cable or adapter to the MacBook Air
Next, connect the HDMI cable to your MacBook Air using the appropriate adapter. Remember to secure the connection to prevent any signal loss tightly.
Adjust the display settings on your MacBook Air
Once connected, your MacBook Air should automatically detect the external display. If not, you can manually adjust the display settings in System Preferences. You can change the display resolution, refresh rate, and other settings to optimize your viewing experience.
Step 4: Test the connection and adjust the display settings
After connecting your monitor, testing the connection and adjusting your display settings for optimal performance is crucial.
Check if the monitor displays the MacBook Air screen
Ensure that the monitor is displaying your MacBook Air’s screen properly. If not, recheck your connections and try reconnecting the HDMI cable or adapter.
Adjust the resolution and refresh rate settings
For the best viewing experience, adjust the resolution and refresh rate settings in your MacBook Air’s display settings. A higher refresh rate provides smoother motion, while a higher resolution offers sharper images.
Calibrate the color and brightness settings
Lastly, calibrate the color and brightness settings on your 4K monitor to suit your personal preferences. You can do this through the monitor’s built-in menu system.
Step 5: Troubleshooting common issues
Even with careful planning and execution, you may encounter common issues when connecting your MacBook Air to a 4K monitor. Here’s how you can troubleshoot them.
Resolve blurry or distorted display issues
If your monitor displays a blurry or distorted image, try adjusting the resolution or refresh rate settings. Often, these issues can be resolved by choosing the correct resolution and refresh rate for your monitor.
Ensure the monitor is receiving power
If the monitor isn’t turning on, ensure it’s plugged into a power source and the cable is securely connected. Your monitor may also have a power switch that needs to be turned on.
Update macOS and monitor drivers
If you’re still experiencing issues, it could be due to outdated software. Make sure your macOS and monitor drivers are up-to-date. You can update your macOS in System Preferences, while monitor drivers can usually be updated through the manufacturer’s website.
Conclusion
Connecting a 4K monitor to your MacBook Air can greatly enhance your viewing experience and productivity. Following these steps lets you set up your monitor quickly and easily. And remember, even if you encounter issues along the way, troubleshooting is part of the process. So, don’t be discouraged and enjoy your new 4K viewing experience!
FAQ’s
Q: Does MacBook Air support 4K monitor?
A: Yes, the MacBook Air does support a 4K monitor. However, there are some specifications and requirements that need to be considered.
Q: What is 4K resolution?
A: 4K resolution refers to a display with approximately 4,000 pixels horizontally. It offers a higher level of detail and clarity compared to standard high-definition (HD) displays.
Q: Can I connect a 4K monitor to my MacBook Air?
A: Yes, you can connect a 4K monitor to your MacBook Air. It supports external displays with up to 6K resolution.
Q: How do I connect a 4K monitor to my MacBook Air?
A: You can connect a 4K monitor to your MacBook Air using a compatible cable such as HDMI or Thunderbolt/USB-C. Make sure to check the ports available on your MacBook Air and choose the appropriate cable.
Q: What cable do I need to connect a 4K monitor to my MacBook Air?
A: To connect a 4K monitor to your MacBook Air, you may need a Thunderbolt/USB-C to HDMI or DisplayPort cable, depending on the ports available on your MacBook Air and the inputs on your monitor.
Q: What is the maximum refresh rate supported by MacBook Air for a 4K monitor?
A: The MacBook Air can support a 4K monitor at a maximum refresh rate of 60Hz.
Q: Can I connect multiple 4K monitors to my MacBook Air?
A: The MacBook Air with M1 chip supports one external display up to 6K resolution. However, it can also support up to two external displays in addition to the built-in Retina display, as long as they are not both 4K displays.
Q: Can I use a 4K display with my MacBook Air M1 at a resolution of 1440p or 1080p?
A: Yes, you can use a 4K display with your MacBook Air M1 at lower resolutions such as 1440p or 1080p. The display will automatically scale down to the selected resolution.
Q: Is my MacBook Air M1 compatible with a 4K monitor?
A: Yes, the MacBook Air with M1 chip is compatible with a 4K monitor. It supports external displays with up to 6K resolution.
Q: Does MacBook Air support 4K at 60Hz?
A: Yes, the MacBook Air supports 4K resolution at a refresh rate of 60Hz.
- All About Hareem Shah: Age, Income, Height, and More - May 6, 2024
- GTUOXIES 110-inch 4K UHD Smart TV Review - March 30, 2024
- Review of SAMSUNG 98-Inch Neo QLED 4K UHD TV - March 30, 2024